📋 Android Access Notes
Account: Each user can create accounts on the [Account Management] page, and each account can have its own traffic threshold set separately.
Using Account to Login Device: Each device uses one account to connect to the proxy for convenience. Fill in the account name as the proxy username.
Switching IP:
Method 1: Switch IP by clicking the "Switch/Refresh IP" button
To switch the IP for the test1 account, select the test1 account from the account options on the left side of the "Proxy IP Configuration" page, then click the "Switch/Refresh IP" button to switch the test1 account's IP. As shown:
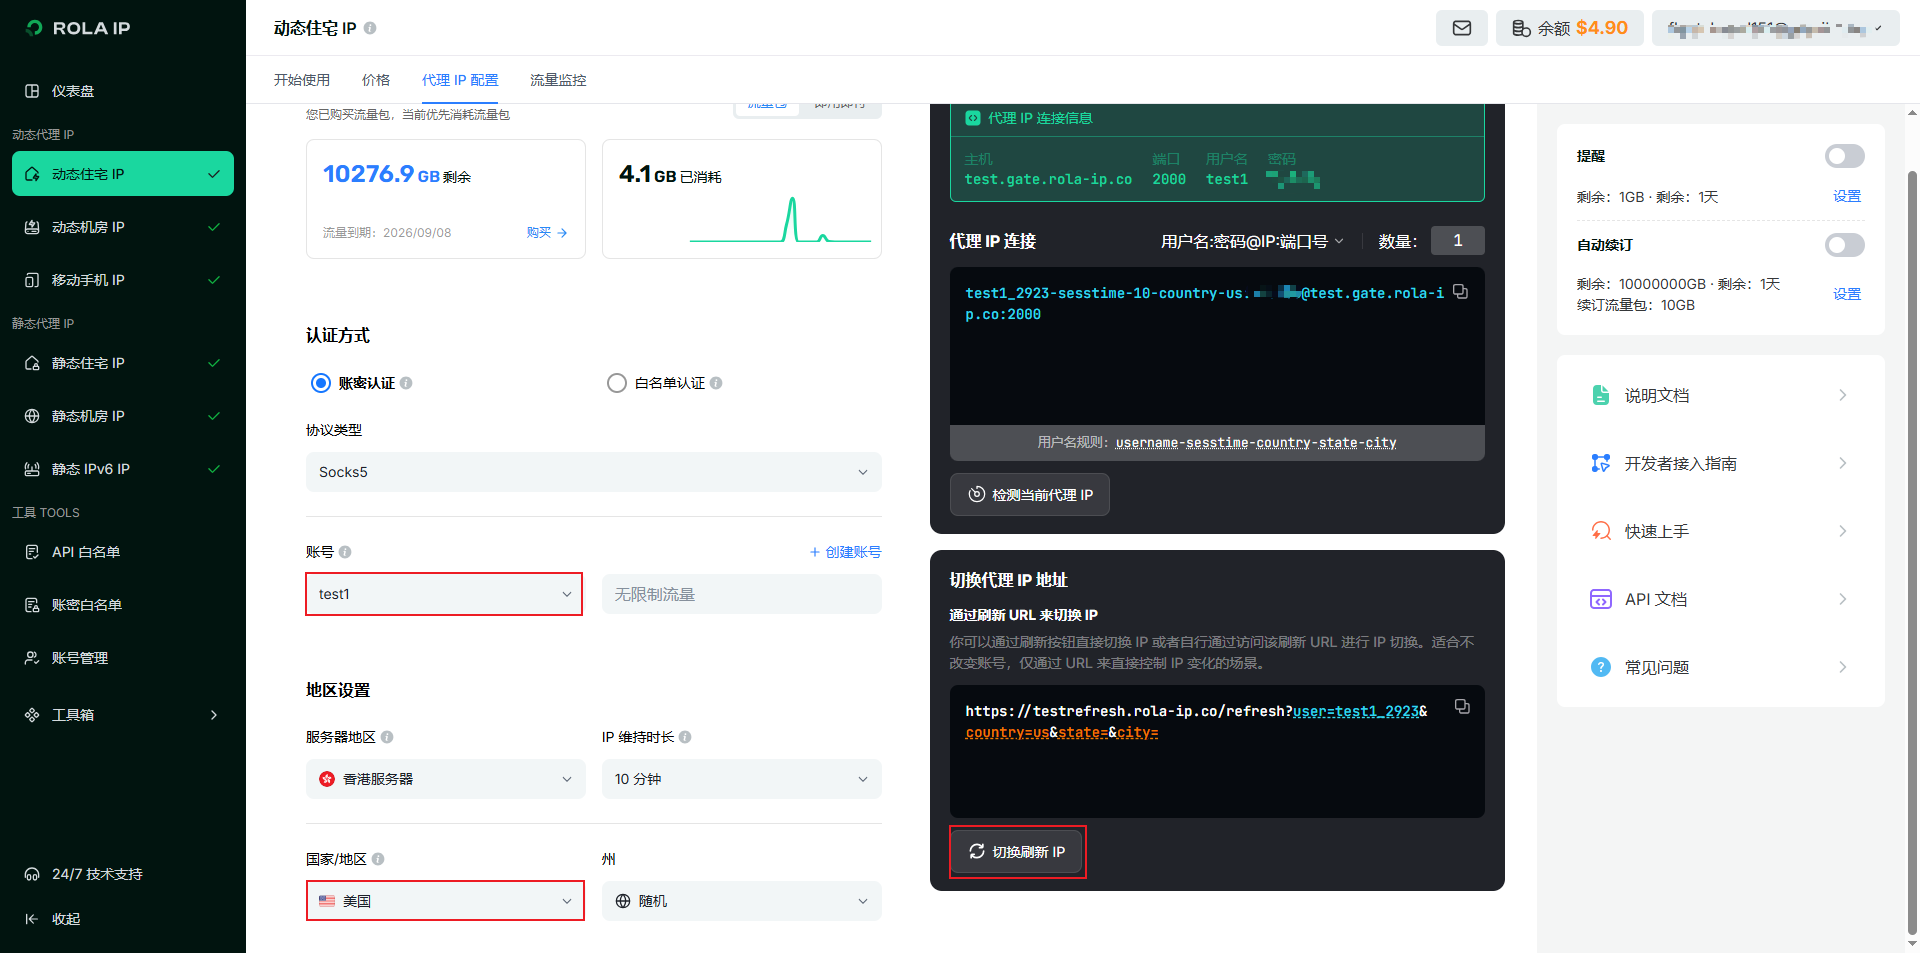 After switching, the test1 account's latest IP will be a US IP, while other account IPs will remain unchanged.
Method 2: Switch IP by changing account format
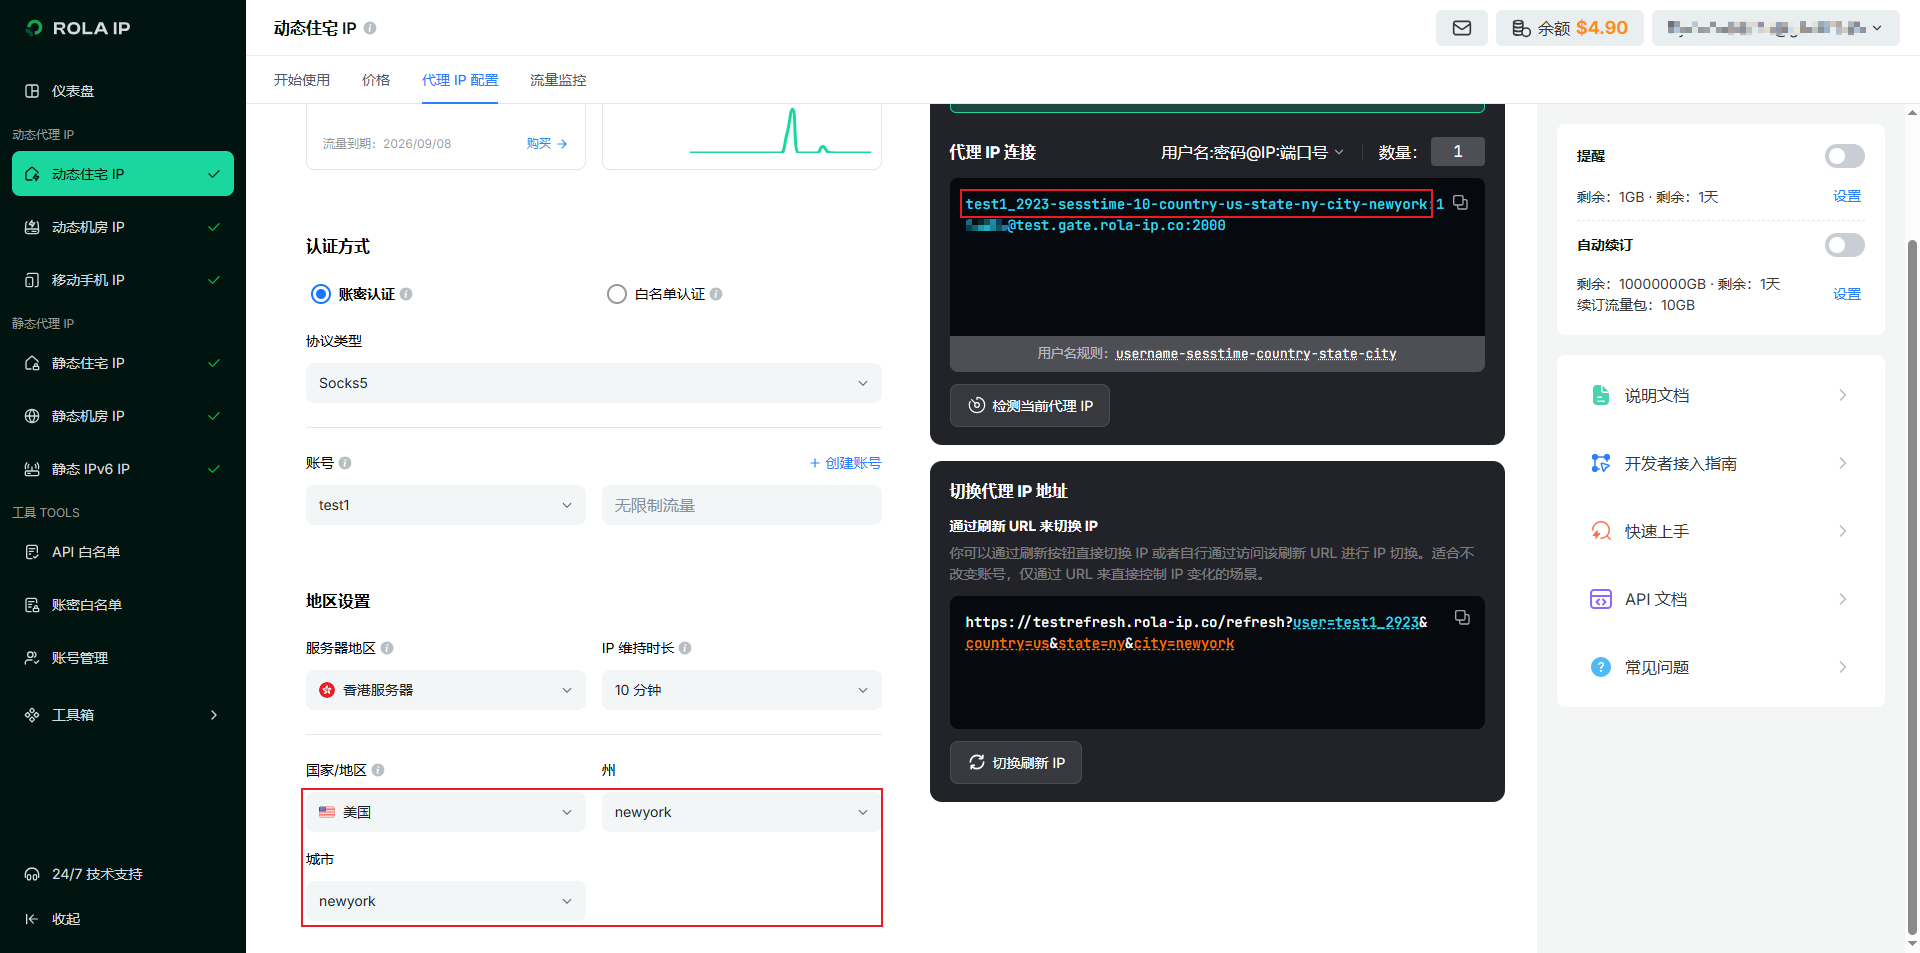
Specify IP country/IP state/IP city through account format:
- To specify account IP country, parameter format:
account-country-countryCode. Example:test1_7651-country-usformat represents a US IP. - To specify account IP country + state, parameter format:
account-country-countryCode-state-stateCode. Example:test1_778-country-us-state-nyrepresents an IP from New York State, USA. - To specify account IP country + state + city, parameter format:
account-country-countryCode-state-stateCode-city-cityName. Example:test1_778-country-us-state-ny-city-newyorkrepresents an IP from New York City, New York State, USA.
As shown:
- To specify account IP country, parameter format:
Traffic Summary and Billing by Account: For example, user tom's total traffic is the sum of all accounts such as test1, test2, test3, and billing is calculated accordingly.
📱 Android Access
Step 1: Download Proxy Software
Download "Postern", Download here
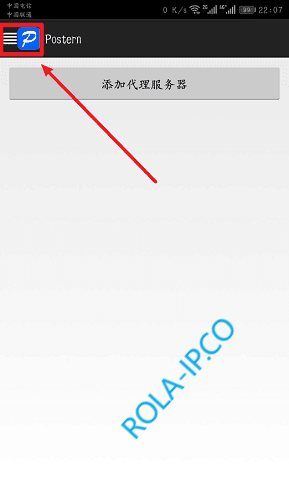
Step 2: Open Postern
Click the "Menu" in the top left corner
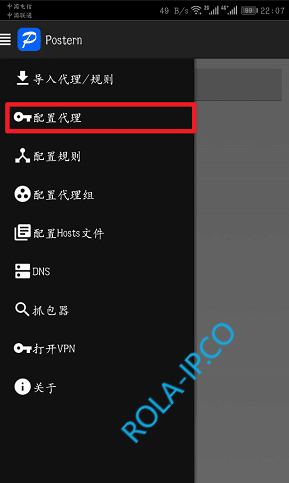
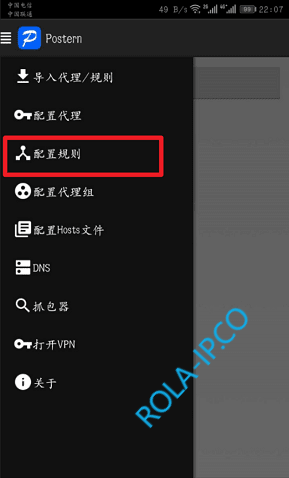
Step 3: Configure Proxy
Click "Configure Proxy"
Step 4: Add Proxy Server
Click "Add Proxy Server"

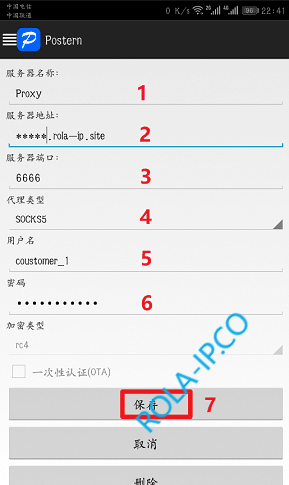
Step 5: Fill in Proxy Information
Fill in "Server Address, Port, Username, Password, Proxy Type", then click Save. This information can be obtained from the rola backend (For example, select Overseas Residential IP >> Dynamic Residential IP >> Click Generate Proxy Information to view). Server name can be filled in arbitrarily.
Step 6: Add Rules
Add rules to save traffic
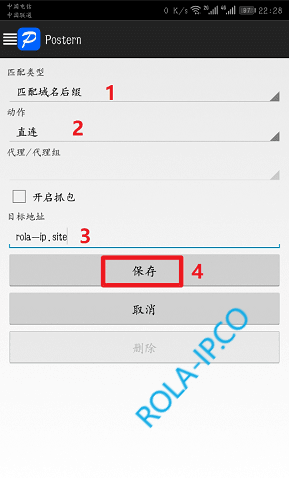
Add the 1st rule: "Match Type: Match Domain Suffix" -> "Action: Direct Connection" -> "Target Address: rola-ip.co ; rola.vip", then save
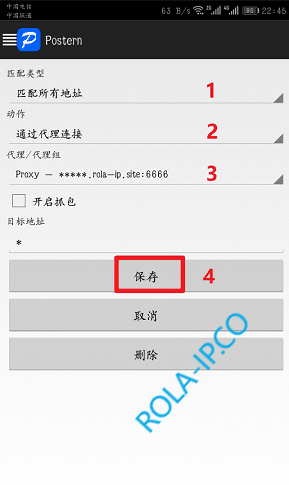
Add the 2nd rule: "Match Type: Match All Addresses" -> "Action: Connect via Proxy" -> "Proxy/Proxy Group: Will automatically display your configured proxy server", then save
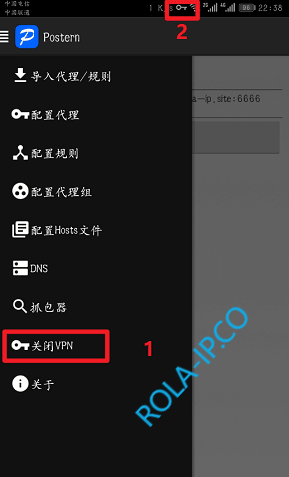
Step 7: Enable Proxy and Test
Enable the proxy. When a "key icon" appears in the phone's notification bar, it indicates the proxy IP is successful.
Configuration is complete. You can test whether the proxy is working properly by visiting http://ip123.in. If it shows a foreign IP, it means the proxy is successful.